OrdersTracker lets you keep track of your repetitive customers by adding their basic information such as Company Name, First Name, Last Name, Telephone, Email, etc.
Under the Delivery System, you can search for the calling customers information from existing data or add new customers as required. In case there is any change in existing customer’s data, you can update the customer’s information as required.
Add New Customer #
- Tap
 in the Top Bar.
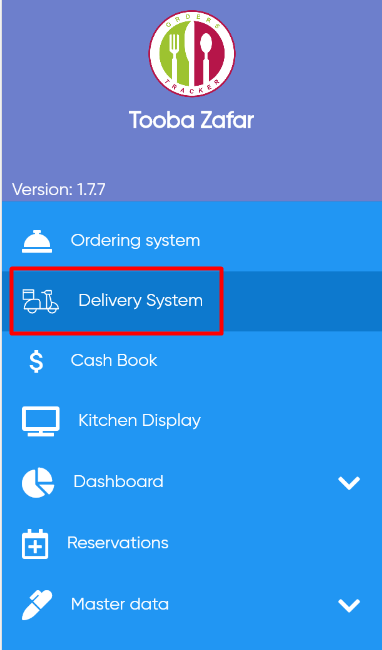
A popup menu displays. - From the popup menu, tap Delivery System.
- Tap Add Customer to add a new customer.

- The Add Customer dialog is displayed. In this dialog, specify the following parameters:
- Company Name: Specifies the customer’s company name.
- First Name: Specifies the customer’s First name.
- Last Name: Specifies the customer’s Last name.
- Telephone: Specifies the customer’s telephone number.
- Email: Specifies the customer’s Email address.
- Street: Specifies the customer’s street address. When you start typing the Street, system will search from the available locations and auto-fill the rest of the fields.
- Zip Code: Specifies the customer’s zip code. This will be auto-filled if the street is selected from the available list.
- City: Specifies the customer’s city. This will be auto-filled if the street is selected from the available list.
- Country: Specifies the customer’s country. This will be auto-filled if the street is selected from the available list.
- After specifying the required parameters, tap Add.
The customer’s information adds to the system.

Update Customer #
You can update an already added customer’s information from the Delivery System. This is useful in case there is a change in customer’s data such as updated telephone number or a new location for delivery.
To update customer’s information, follow the steps below:
- Search for the calling customer by either typing Name or Company Name as shown in the image below.

- Now click on the Edit option on the customer tile.

- A dialog box for Update customer will be displayed. You can modify any of the information. Once done, click on the Update button to save the changes into the system.
